
I have been having a lot of fun knitting recently, as you know, but one thing I’ve been having particular fun with is knitting socks. I first ventured, intrepidly, into sock making in December 2020 to make my mother a pair for Christmas. Up until this point I had only made pretty simple things, like hats and scarfs. Of course I turned to good old YouTube to help me. I needed to first learn the anatomy of the sock, if you will. There are basically 7 parts to a sock.
Anatomy of a Sock
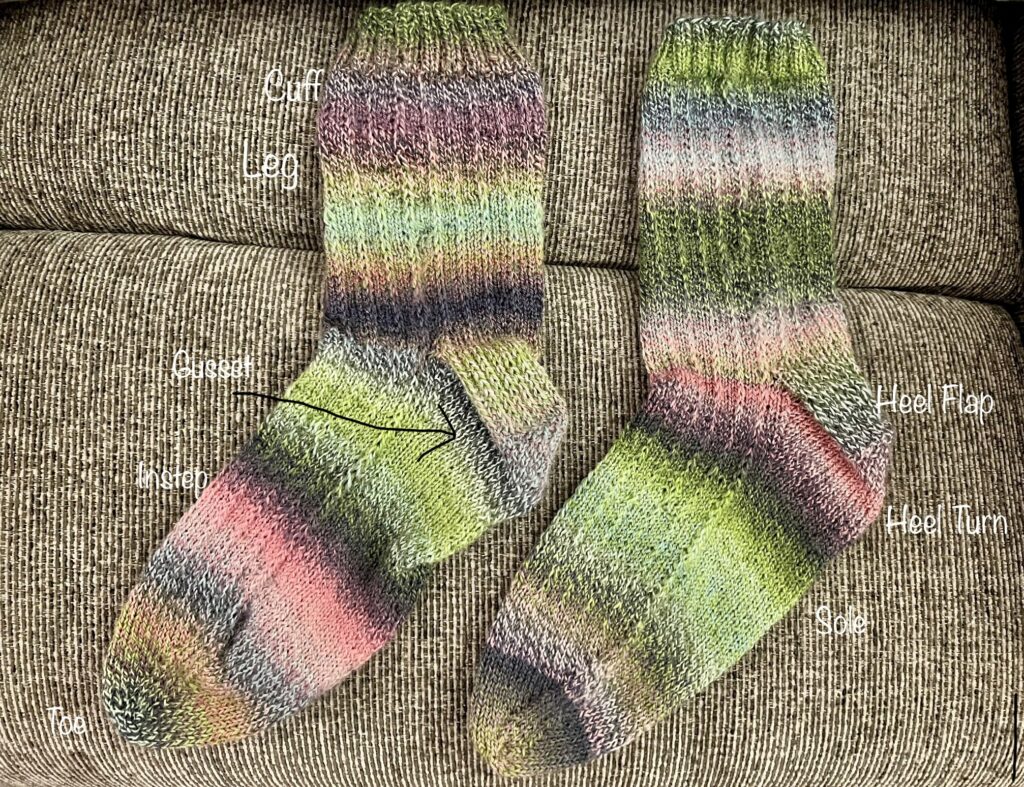
- Cuff – This is the very top of the sock. It is usually the easiest part of the sock, comprised typically of either a 1×1, 2×1 or 2×2 knit/purl rib pattern.
- Leg – This is where you can get really creative with the sock. There are just so many amazing different patterns that you do here. You could just do a “vanilla” stockinette pattern (straight knit stitch), cables, lace patterns, colorwork. It is endless!
- Heel Flap – This is the strip that forms that back of the heel, from the ankle bone to the base of the foot. There are couple of different heel flaps, but probably the most popular, and my favorite, is the slip stitch. The heel is the hardest hit part of the sock so it needs a bit of reinforcement, so this works great. It’s also important to note that while most of the sock is worked in the round, the heel flap is worked flat on half the stitches of the sock.
- Row 1: (sl 1, k1) to end (On the right side of the work, you slip 1 stitch and knit the next. Continue to end.
- Row 2: sl 1, p to end (On the wrong side of the work, you slip the first stitch, then purl all other stitches to the end.
- The Heel Turn – This is the part that is magic! It connects the leg of the sock to the foot (along with the gusset). Again, there are a couple of methods but these are usually worked in “short rows”, which are used to create triangles or wedges within your knitting.
- Gusset – The gusset connects the heel to the instep (or top of the foot), so you can move back to creating the sock in the round.
- Foot – This is divided between the instep (the top of the foot) and the sole (the bottom of the foot). The instep is usually comprised of the same pattern as the leg and the sole is typically stockinette.
- Toe – This is comprised of a set of decreases that are worked for about an inch and a half to taper and shape the toe of the sock, ending with a Kitchener Stitch to graft the last of the stitches together and finish off your sock!
So how to we get started? Of course I turned to good old YouTube to help me. My preference at the moment is to knit a sock from the cuff down so this is the order I am following here. There are many tutorials for and people who prefer to knit a sock from the toe up.
Below is just one of many fabulous tutorials for getting started on the cuff. This is using circular needs and the magic loop method, which I will address in a bit. The other way is to use Double Pointed Needles.
Now for the leg! Again, this is where to get creative! Look for some patterns on Ravelry, look at some books! If it is your first sock, I would highly recommend just starting very simply with a Vanilla Sock pattern, where you just follow knit stitch all around.
Now for the magic that is the heel flap and the heel turn. This knitter is using double pointed needles, as I wanted to show you this technique as well. Again, there are tons of videos and tutorials to help you based on which technique you’d like to use.
Next for the gusset. To be honest, I find picking up the gusset stitches the most challenging part of the sock. I encourage you to just look for those v’s on the heel flap as best you can, as she shows in the video here, and just get the number of gusset stitches that your pattern calls you to pick up .
You will complete your gusset decreases once you have picked up the gusset stitches according to your pattern. Then you are ready to move on to the foot. As I mentioned before, this basically involves just following your leg pattern for the instep or top of the foot (the half of your stitches that were not part of your heel), and then a stockinette patter on the sole or bottom of the foot. This takes a bit of time as, depending on the size of foot, you need to do this for anywhere from 8-10.5 inches.
Finally, you are ready for the toe! This involves similar decreases to the gusset decreases and will be forming and shaping the rounded toe shape.
Double Pointed Needles or Magic Loop with Circular Needles?
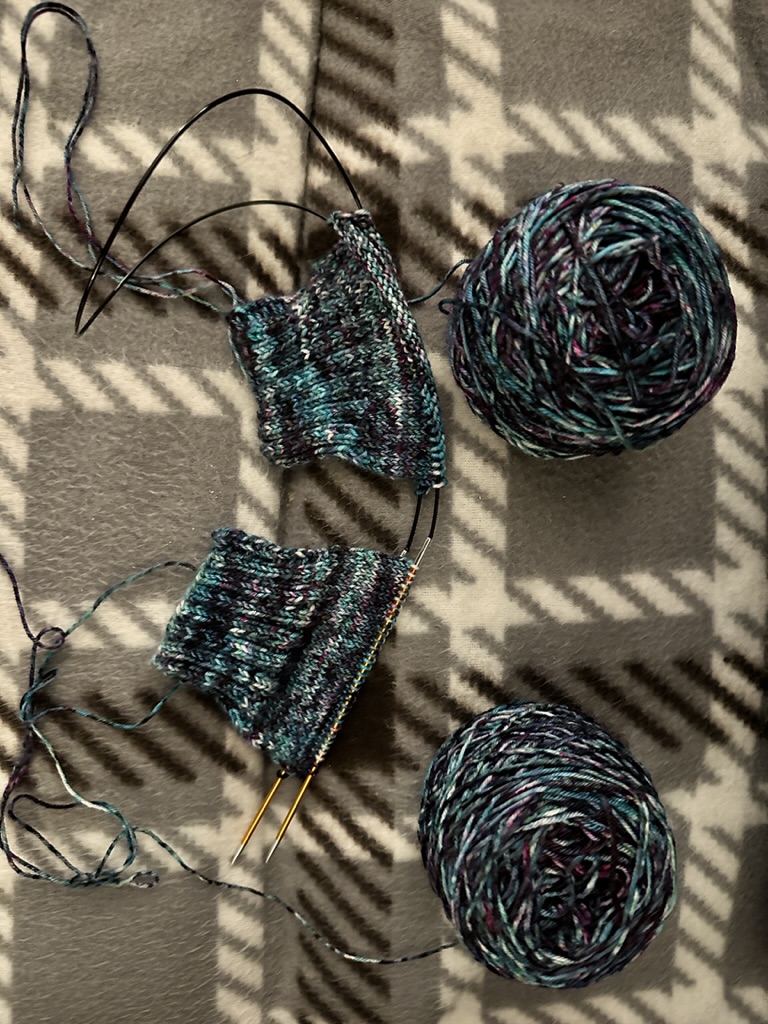
I’ve alluded to the fact that you could decide to knit your sock on double pointed needles or on a single circular needle. I will say that I started out knitting socks on double pointed needles. You can only knit one sock at a time when using DPNs so a big downside to this is something we call “second sock syndrome,” where you start to lose the motivation to finish the second sock for a pair after you have worked so long on knitting the first. I have also found that knitting on circular needles, since there is less moving from needle, there is better tension and it just comes out more even. At least that is my experience. I personally have loved recently learning to make two-at-a-time socks on circular needles using magic loop (you can of course make one at a time with this technique, but again, SSS).
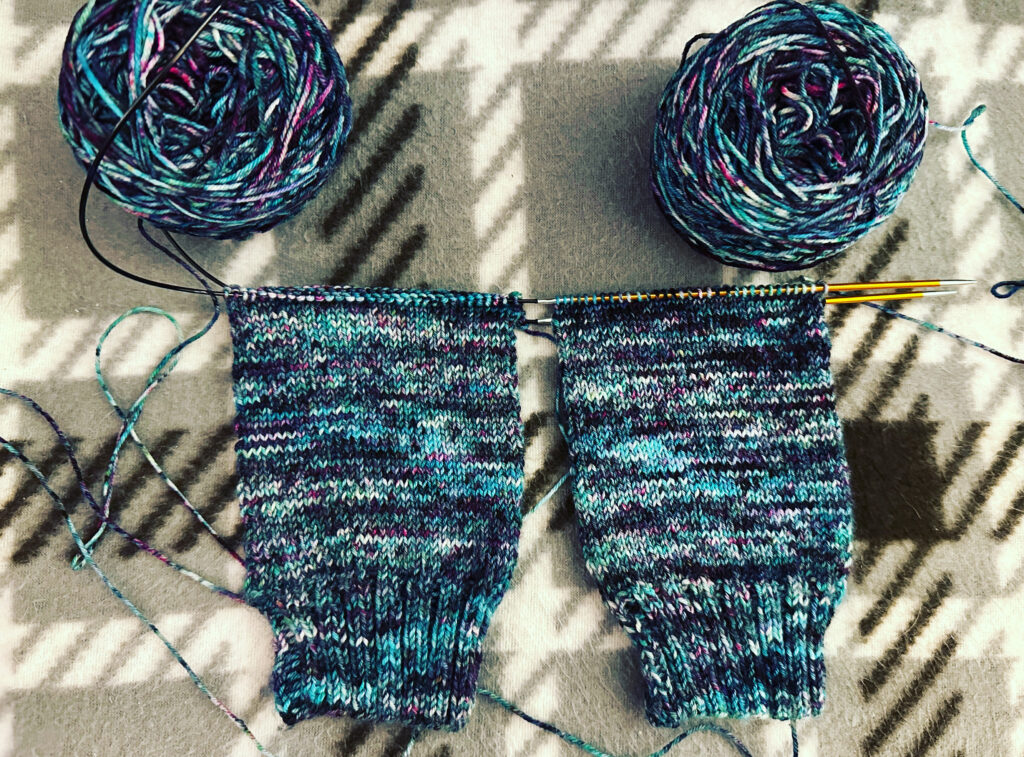
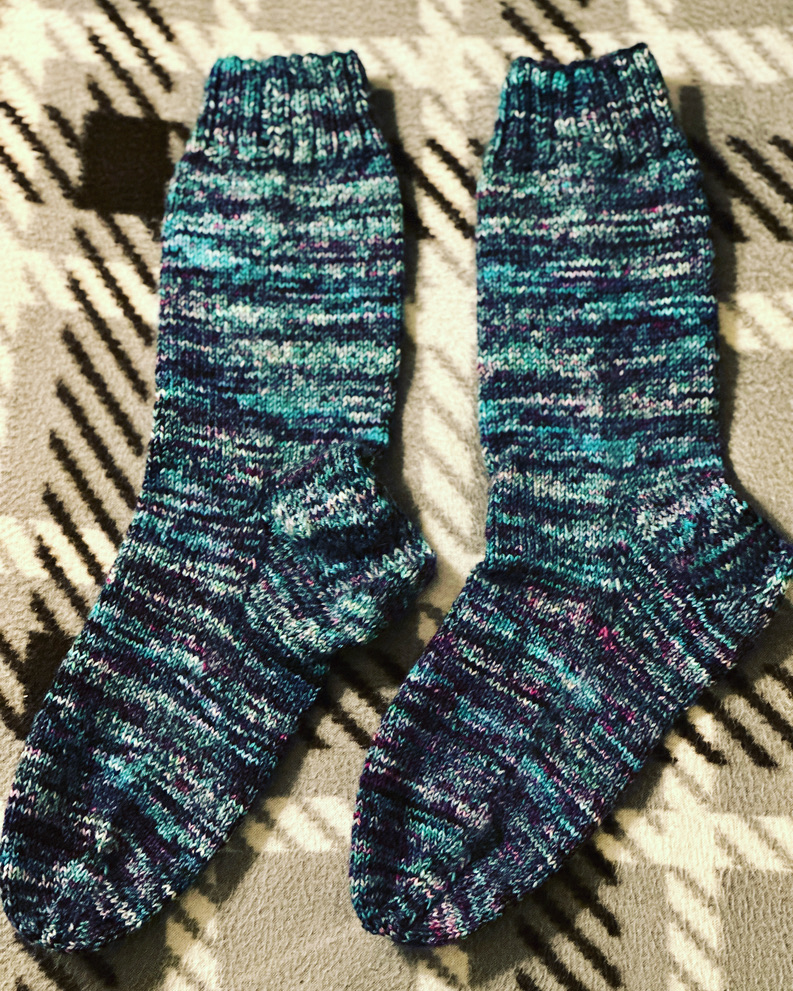
I created my first two-at-time socks using Malabrigo Ultimate Sock Yarn, which I am in love with!
I hope this has encouraged you to knit all the socks! Share all your photos with the gnome!
Happy knitting and buen viajes, gnomies!